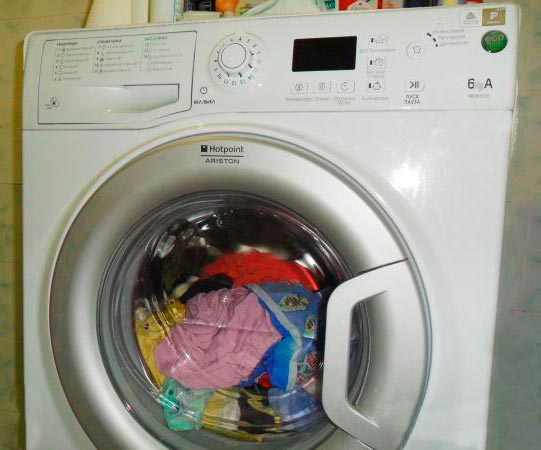
 In the process of operation, the washing machine can get faults, in which washing is not possible. If the washing program is over, the lock time (5 minutes) has passed, and the door does not open, with, of course, water in the drum no water in the drum, the problem is in the door.
Washer door malfunction
Faults can be different: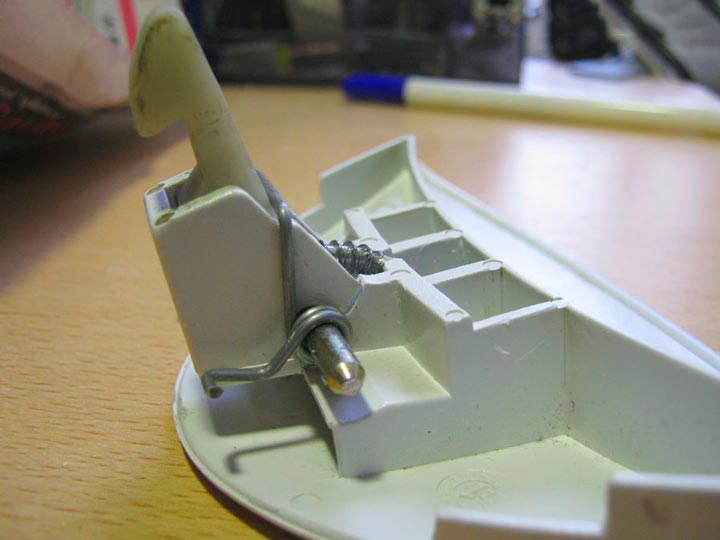
- The door glass may be broken;
- The latch is defective or jammed;
- The hinge on the hinge support is broken;
- The problem in the hatch locking device.
In this case, the repair of the washing machine door with your own hands is not difficult to perform. It takes patience, time and proper preparation.
Preparation
What will be required before proceeding with the repair?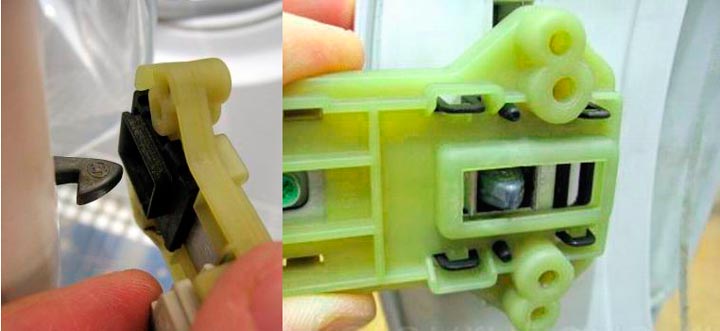
- Understand what kind of device it is and how it is made.
- Know some of the nuances that craftsmen use when repairing appliances.
- The necessary tools (depending on the breakdown).
- Materials and parts.
Trouble with the UBL
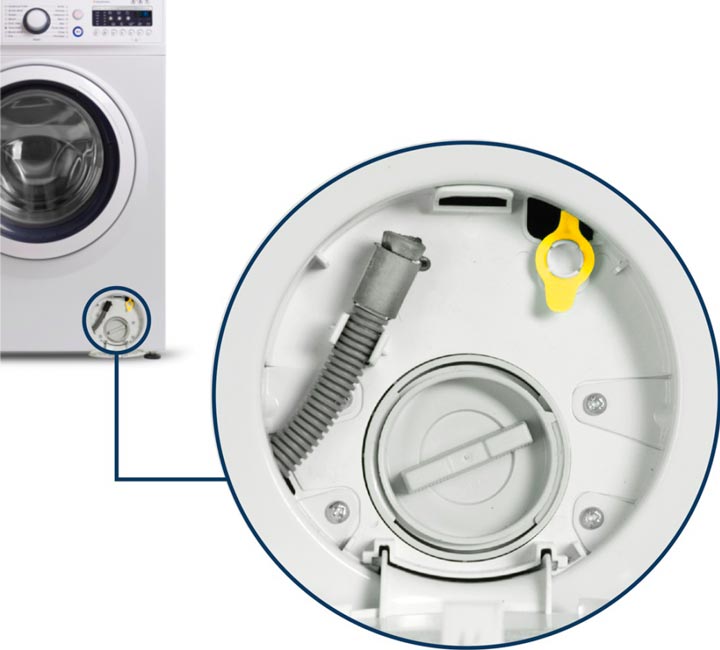 If the door of the machine does not open, you can use the emergency opening of the hatch. The manual for the washing machine specifies the procedure for emergency opening of the door. Most often, manufacturers have specifically provided a solution to this problem and built an emergency cable into the machine. It is located under the cover filter drain. The cable is usually bright orange in color and you need to pull it to open the hatch. Not all models are equipped with such a device.
If there is no cable, then the lock is disengaged in a different way. The machine has a cover removed from the top and it tilts back in order to move the the drum. After that, the latch is pushed aside by hand.
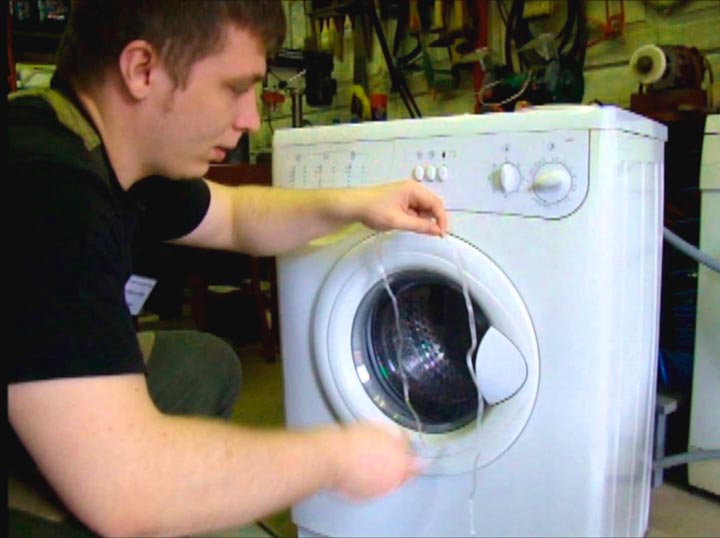 There is another folk method, which is often effective in repairing the locking device of the washing machine hatch. Take a kapron thread or fishing line.
The middle of it is pushed with a screwdriver or knife between the door and the hatch in the area of the lock. Then both ends are pulled so that the thread or fishing line gets inside the machine. The latch is then pulled back and a click is heard. The door is now open.
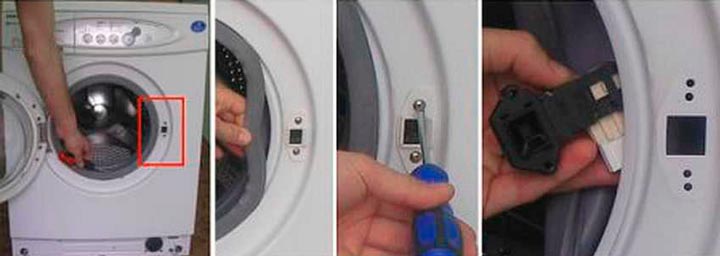
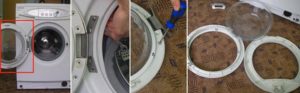
To replace the old LOS with the new one:
 remove the retaining bezel;
- remove cuff right;
- unscrew the self-tapping screws that hold the device in place;
- Pull out the UBL;
- Insert a new one.
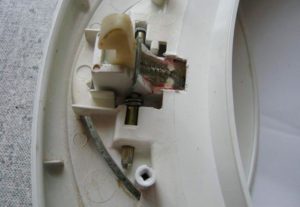
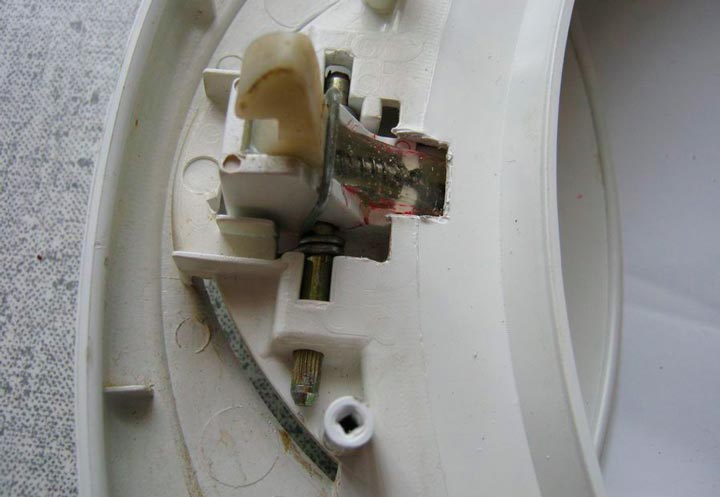
Latch Repair
Repairing the latch is not difficult. There are two options: if the latch can be removed, it is removed. If not, you will have to work with the entire door.
 The door is unscrewed and put on the table for convenience.
- Then it is necessary to grind the nick with a file or file.
- Graphite grease is applied. Be sure to remove the excess, to avoid damage to the laundry during washing.
- The door is reassembled.

Glass Damage
If the glass is damaged, you will need to purchase epoxy or polyester resin. It is rare to find removable glass in the door. Otherwise, the repair of the washing machine hatch is a little more complicated.
- The front is glued polyethylene scotch tape. It is important that there are no gaps.
- The hole that needs to be repaired is closed with reinforcing tape used in plastering work.
- Next, the resin is prepared from the right proportion of base and hardener in a separate container.
- The prepared resin is poured into the damaged place.
- Polymerization occurs within a day and only then you can remove the polyethylene film.
- Leaks are removed with sandpaper.
Nothing complicated, a little effort and the machine will open.
Failure of the plastic support
To repair the support you will need:
 Remove it.
- The broken part is fixed with a vise.
- You will need a nail with a diameter of 4 mm, which is sawn to the required length.
- A hole with a diameter of 3.8 mm is drilled through the support.
- The nail is heated to about 180 degrees. At the same time, it is held by pliers. And then it is inserted into the hole that was drilled.
- The cooling time is 2-3 minutes.
- Then the door is assembled and installed in its place.
Handle breakage
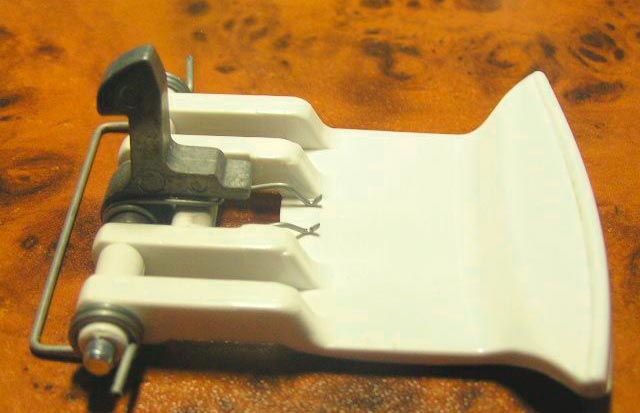 Repair handle washing machine hatch is not made, you will have to replace it. To do this, the door is removed and the self-tapping screws holding the plastic rims are unscrewed.
The broken handle is removed, a new one is inserted and everything is assembled in the reverse order.